Proxify : Proxy Tool For HTTP/HTTPS Traffic Capture
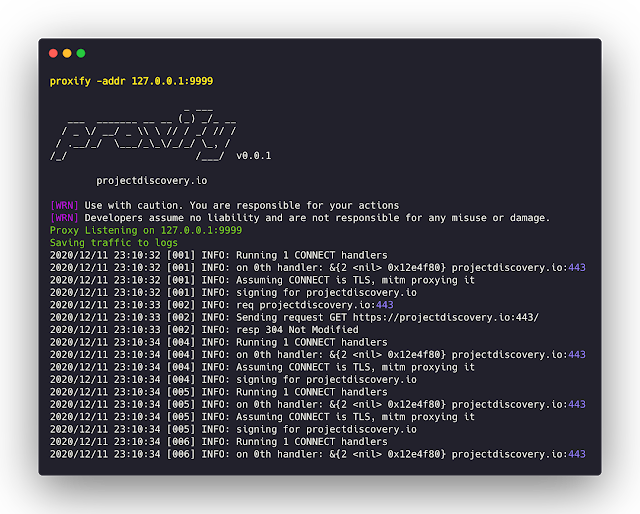
proxify
Proxy Tool For HTTP/HTTPS Traffic Capture
From Binary
The installation is easy. You can download the pre-built binaries for your platform from the Releases page. Extract them using tar, move it to your $PATHand you’re ready to go.
▶ tar -xvf proxify-linux-amd64.tar
▶ mv proxify-linux-amd64 /usr/local/bin/proxify
▶ proxify -version
proxify requires go1.14+ to install successfully. Run the following command to get the repo –
From Source
▶ GO111MODULE=on go get -v github.com/projectdiscovery/proxify/cmd/proxify
From Github
▶ git clone https://github.com/projectdiscovery/proxify.git; cd proxify/cmd/proxify; go build; cp proxify /usr/local/bin; proxify -version
Usage
▶ proxify -h
This will display help for the tool. Here are all the switches it supports.
| Flag | Description | Example |
|---|---|---|
| addr | Listen HTTP IP and Port | proxify -addr 127.0.0.1:8080 |
| config | Config data path | proxify -config certs |
| cert-cache-size | Number of certificates to cache | proxify -cert-cache-size 1024 |
| dns-addr | Listen DNS IP and Port | proxify -dns-addr ‘127.0.0.1:80’ |
| dns-mapping | DNS A mapping | proxify -dns-mapping test.com:80 |
| dns-resolver | Listen DNS IP and Port | proxify -dns-resolver ‘127.0.0.1:5353’ |
| http-proxy | Upstream HTTP Proxy | proxify -http-proxy hxxp://127.0.0.1:8080 |
| no-color | No Color in output | proxify -no-color |
| output | Output Folder | proxify -output logs |
| request-dsl | Request Filter DSL | proxify -request-dsl “contains(request,’admim’)” |
| request-match-replace-dsl | Request Match-Replace DSL | proxify -request-match-replace-dsl “replace(request,’false’,’true’)” |
| response-dsl | Response Filter DSL | proxify -response-dsl “contains(response, md5(‘test’))” |
| response-match-replace-dsl | Response Match-Replace DSL | proxify -response-match-replace-dsl “regex(response, ‘^authentication failed$’, ‘authentication ok’)” |
| silent | Silent output | proxify -silent |
| socks5-proxy | Upstream socks5 proxy | proxify -socks5-proxy socks5://proxy-ip:port |
| v | Verbose output | proxify -v |
| version | Current version | proxify -version |
Use Upstream proxy
Open a local proxy on port 8081 and forward the traffic to burp on port 8080
▶ proxify -addr ":8081" -http-proxy http://127.0.0.1:8080
Open a local proxy on port 8080 and forward the traffic to the TOR network
▶ proxify -socks5-proxy socks5://127.0.0.1:9050
Dump all the HTTP/HTTPS traffic
Dump all the traffic into separate files with request followed by the response, as default proxify listen to http://127.0.0.0:8080. Custom address and port can be defined using addr flag.
As default, proxied request/resposed are stored in the logs folder.
▶ proxify -output db
Hostname mapping with Local DNS resolver
Proxify supports embedding DNS resolver to map hostnames to specific addresses and define an upstream dns server for any other domain name
start a local http proxy on port 8080 using an embedded dns server listening on port 53 and resolving www.google.it to 192.168.1.1, all other fqdn are forwarded upstream to 1.1.1.1
▶ proxify -dns-addr ":53" -dns-mapping "www.google.it:192.168.1.1" -dns-resolver "1.1.1.1:53"
This feature is used for example by the replay utility to hijack the connections and simulate responses. It may be useful during internal assessments with private DNS servers. Using * as domain name matches all dns requests.
Match/Filter traffic with DSL language.
If the request or response match the filters the dump is tagged with .match.txt suffix:
▶ proxify -request-dsl "contains(request,'firefox')" -response-dsl "contains(response, md5('test'))"
Match and Replace on the fly
Proxify supports modifying Requests and Responses on the fly with DSL language.
▶ proxify -request-match-replace-dsl "replace(request,'firefox','chrome')" -response-match-replace-dsl "regex(response, '^authentication failed$', 'authentication ok')"
Replay all traffic into burp
Replay all the dumped requests/responses into the destination URL (http://127.0.0.1:8080) if not specified. For this to work, it’s necessary to configure burp to use proxify as an upstream proxy, as it will take care to hijack the DNS resolutions and simulate the remote server with the dumped request. This allows having in the burp history exactly all requests/responses as if they were originally sent through it, allowing for example to perform a remote interception on the cloud, and merge all results locally within burp.
▶ replay -output "logs/"
Installing SSL Certificate
A certificate authority is generated for proxify which is stored in the folder ~/.config/proxify/ as default, manually can be specified by -config flag. The generated certificate can be imported by visiting http://proxify/cacert.crt in a browser connected to proxify.
Installation steps for the Root Certificate are similar to other proxy tools which include adding the cert to the system trusted root store.
Applications of Proxify
Proxify can be used in multiple places. Here are some common example where Proxify comes in handy:-
Storing all the burp proxy history logs locally.
Store all your browse history locally.
Store all the response of while you fuzz as per you config at run time.